WLED fairy lights
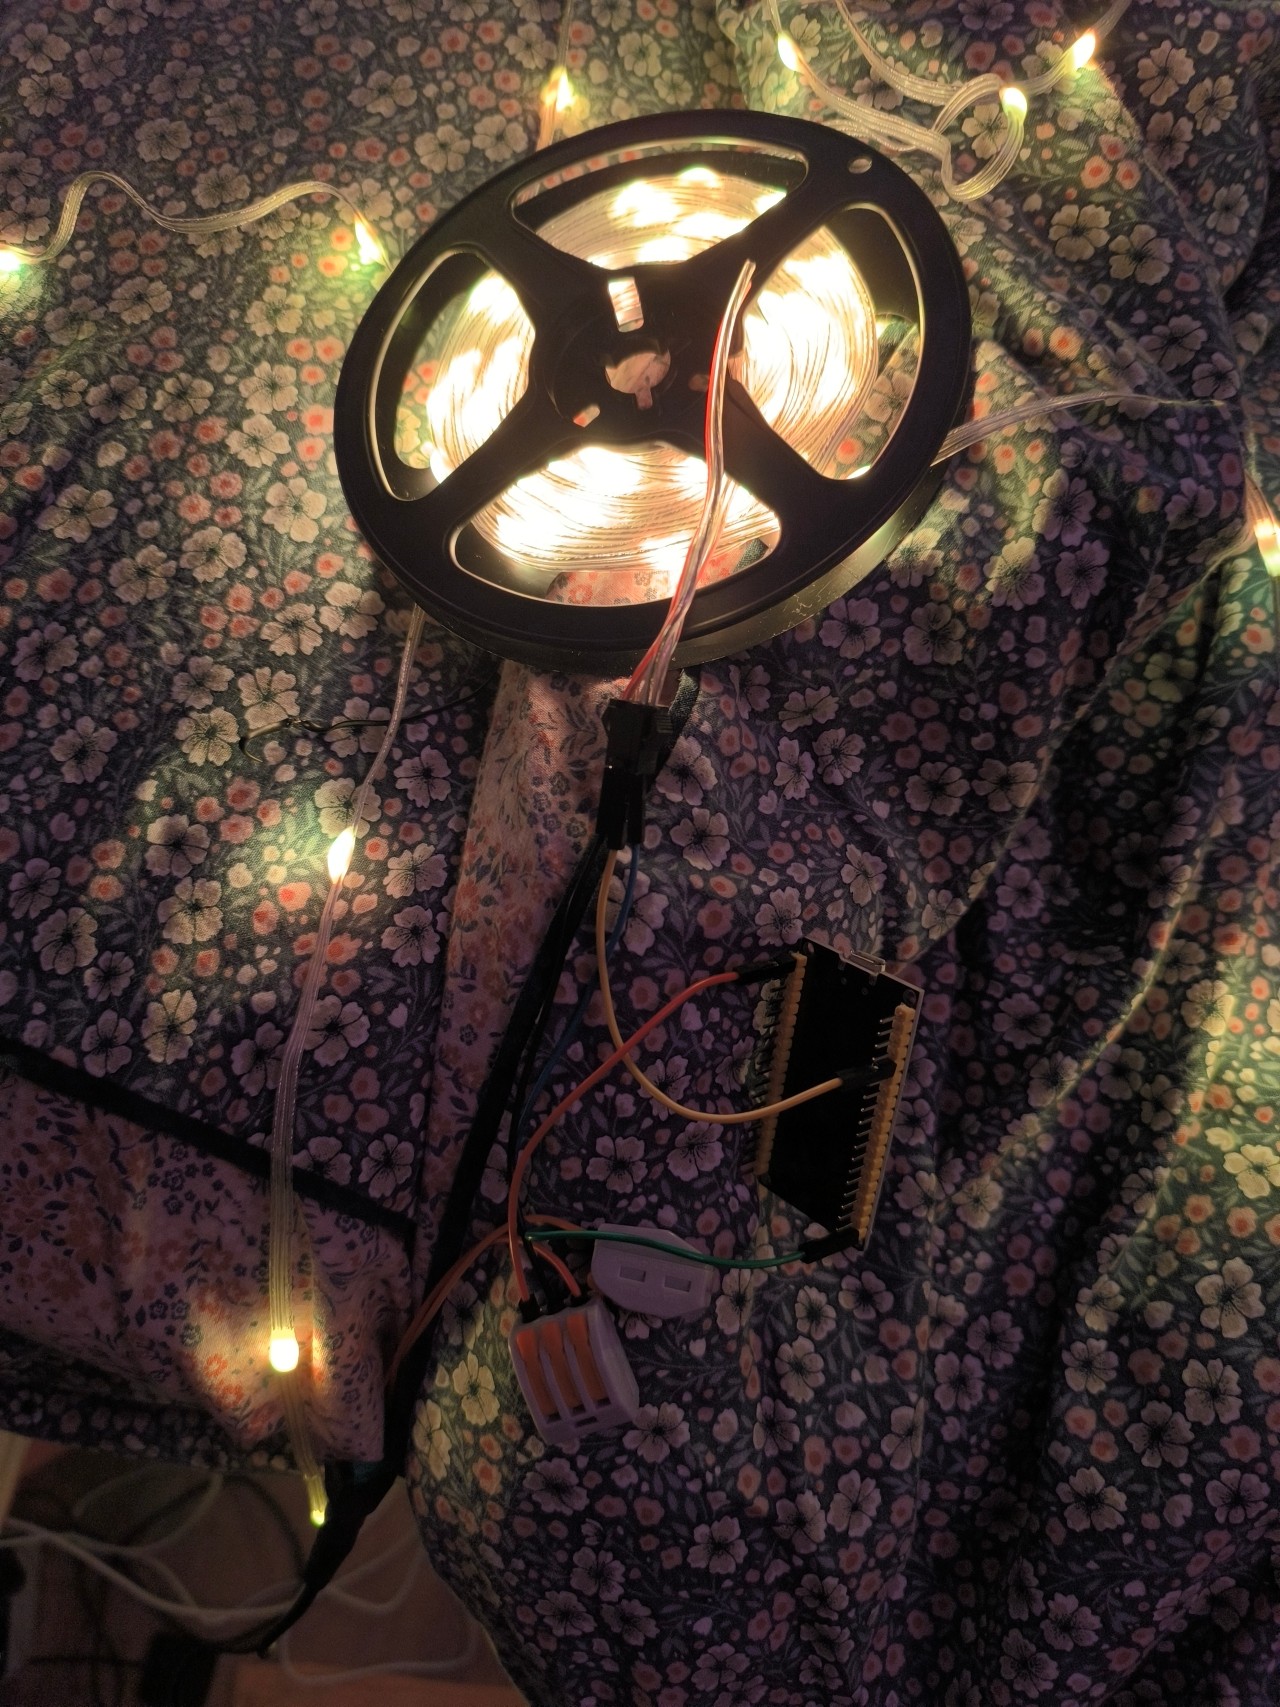
The WLED project is something I have been meaning to use for a while but never got around to experimenting with until recently when I purchased some WS2812B Fairy Lights to decorate our living room with. The setup was easier than expected and the capabilities of this platform far exceeded my expectations.
From being able to leverage the vast array of preset colours, setup custom playlist, easy integration with Home Assistant, multiple controller synchronization, and more.
Equipments
Setup
WLED does provide a web based installer for flashing your controller board via the WebUSB API that’s exposed via Chrome but that didn’t work for me. Instead I followed the serial flashing guide using esptool.
Once installed I went about connecting the device to the to the Wifi network following the quick start guide.
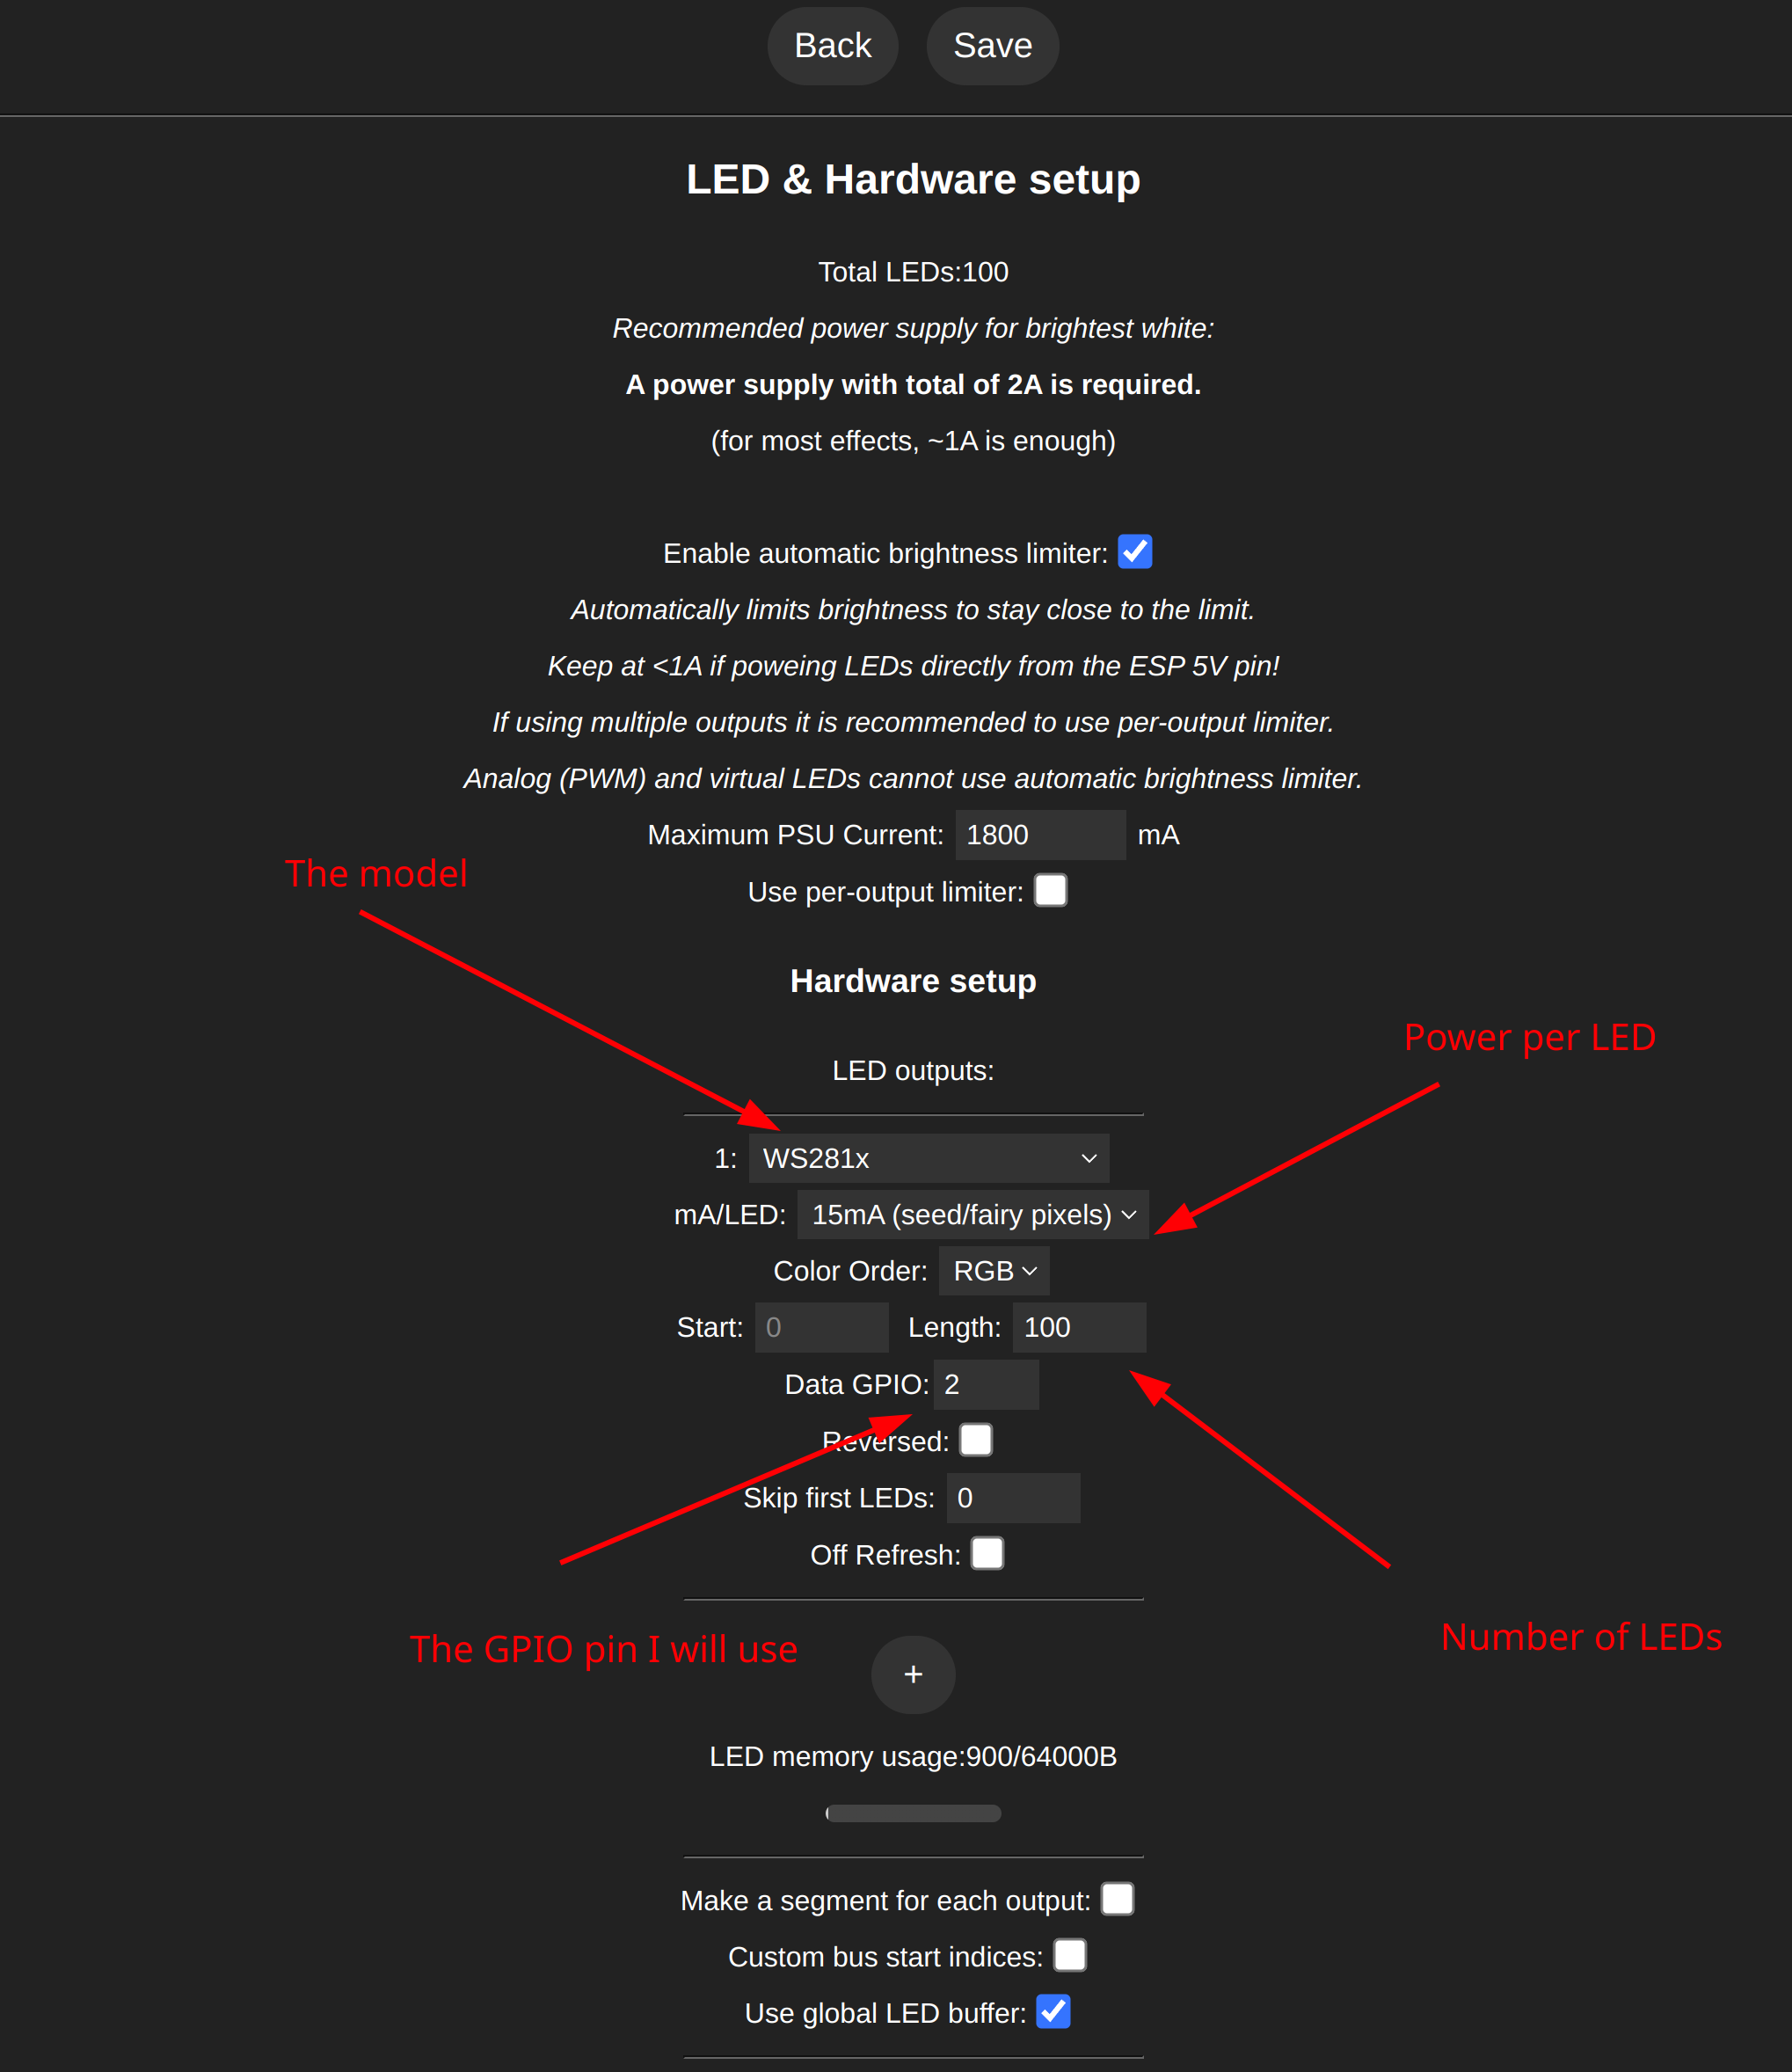
After the device was added to my network I went around configuring the device for the LED’s I had. Below is the main change I made for the LEDs.

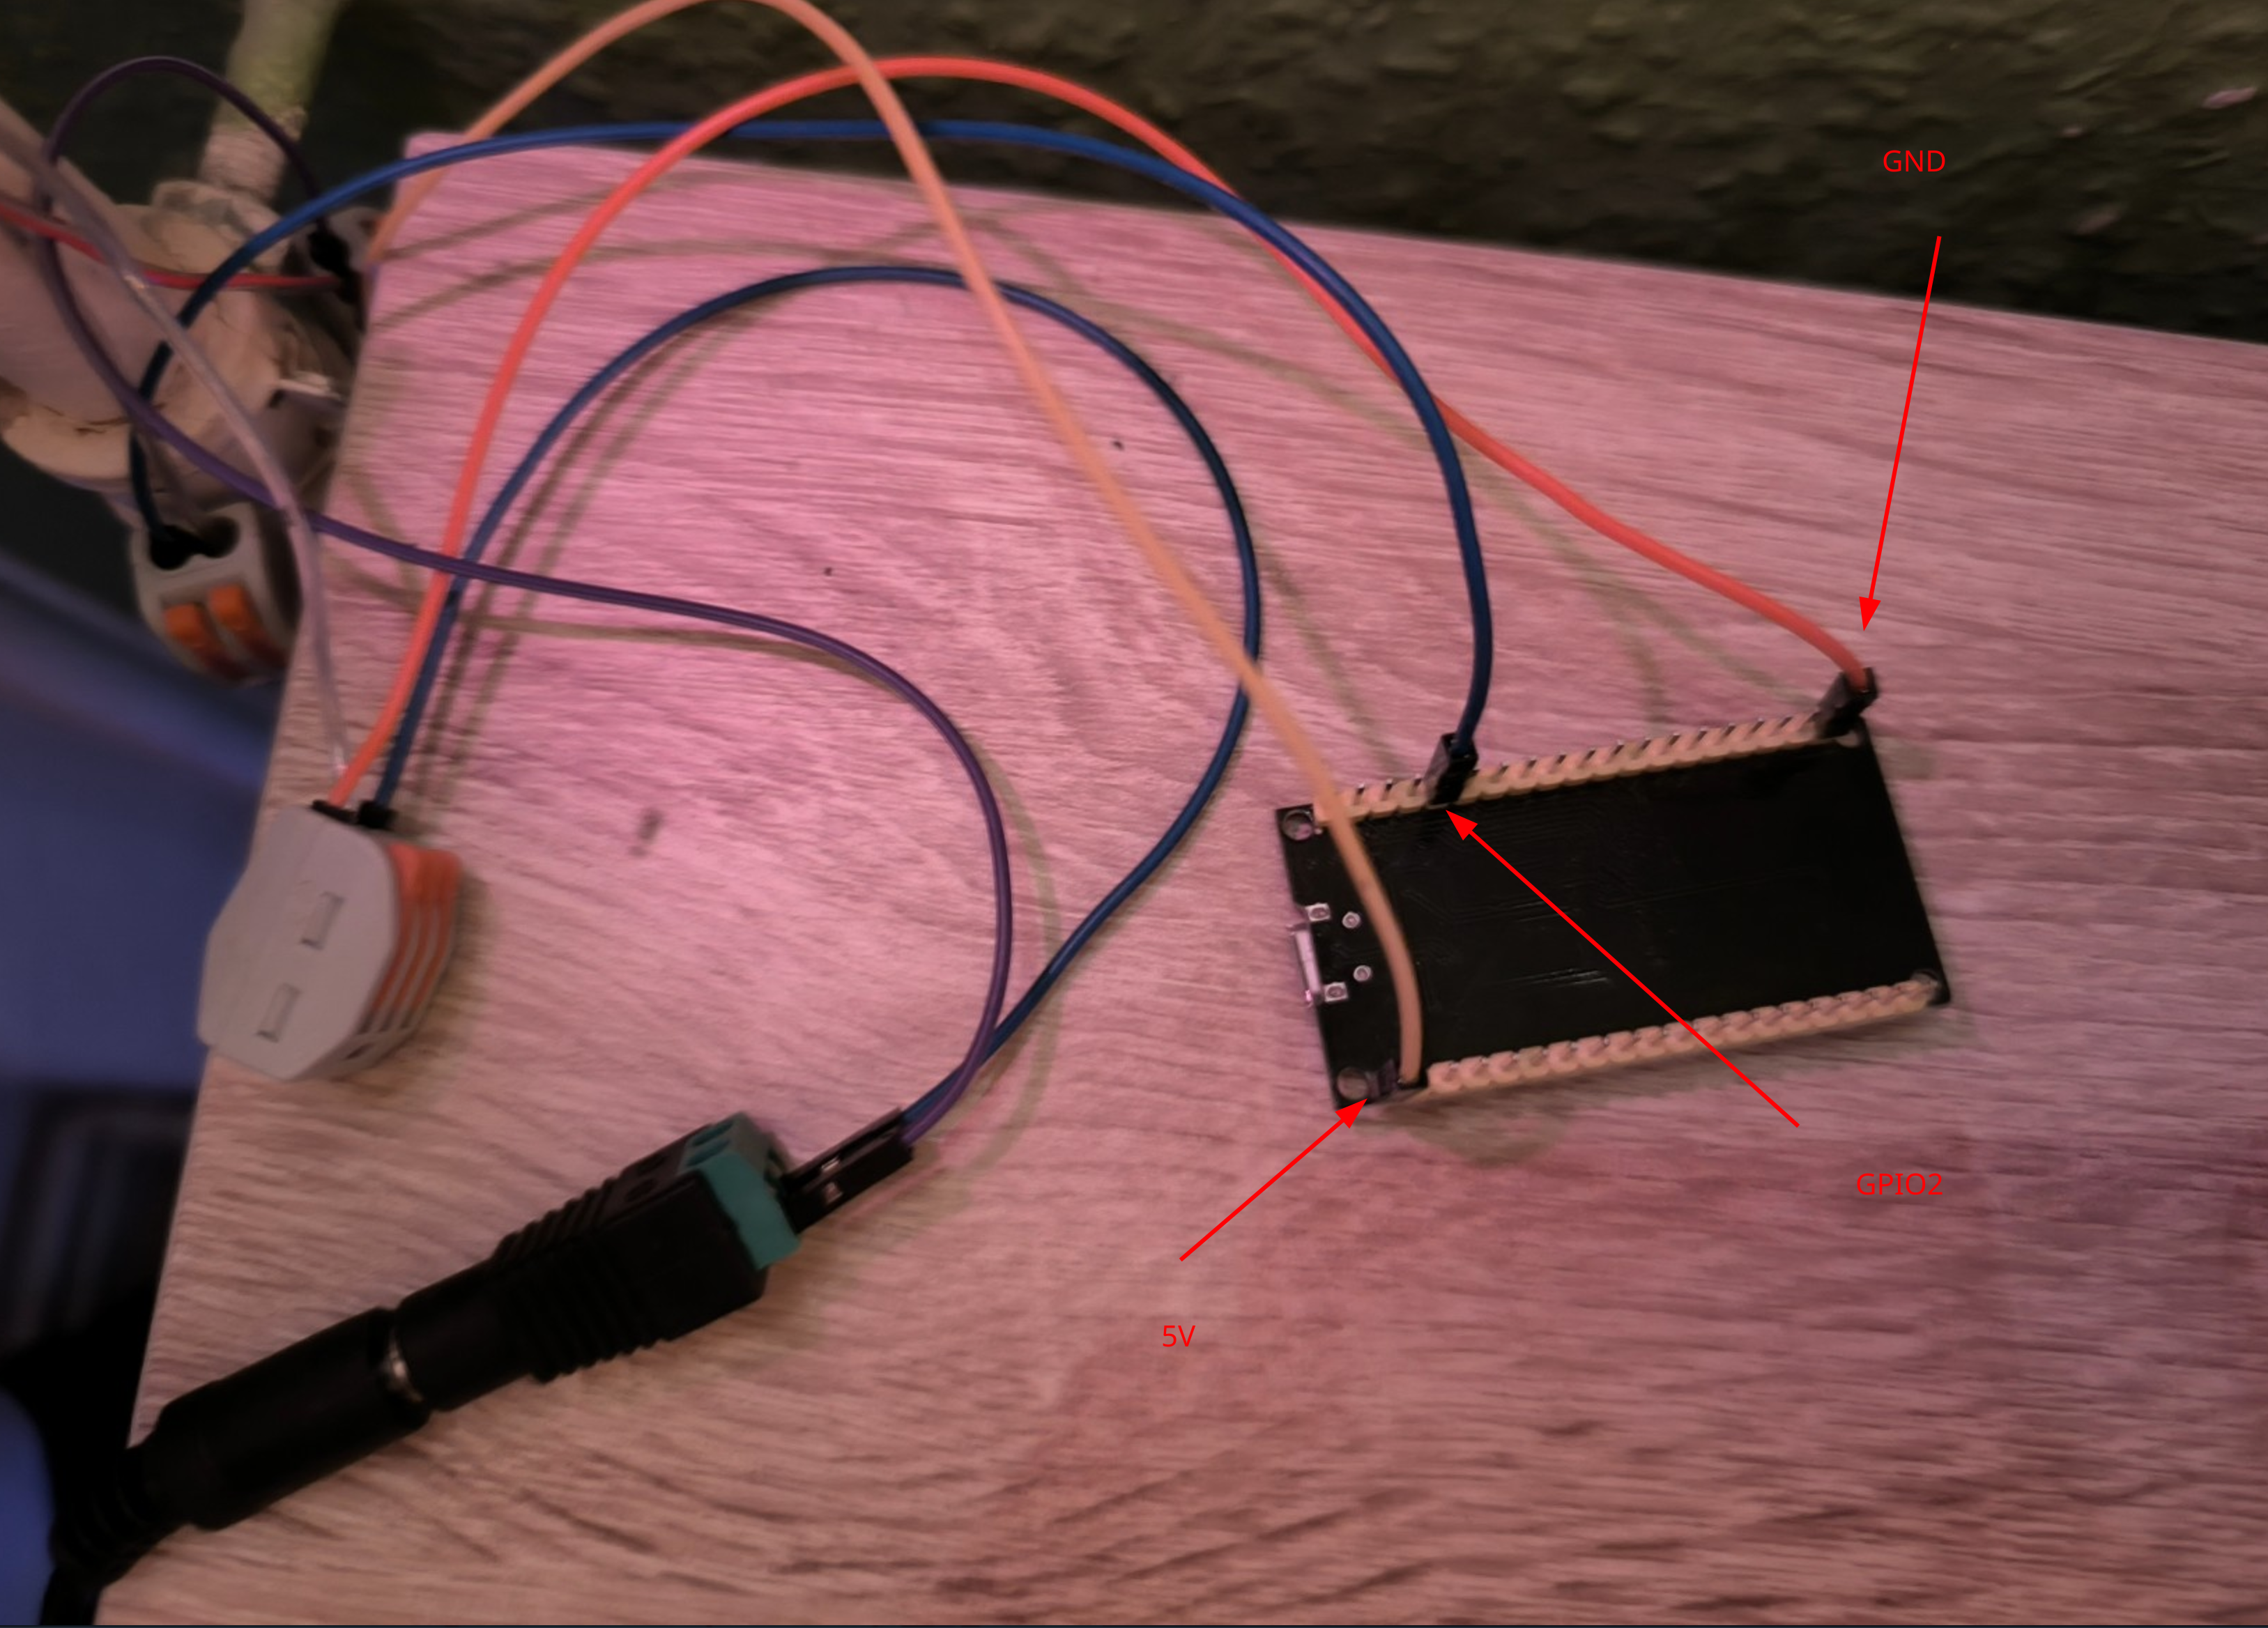
the next step would be to wire up the power supply to the LED cable and splicing this so that it could be used for powering the ESP32. This was quite straight forward using the cable connectors, jumper wires, and the provided power input from the LED cable.

Finally was to wire up the controller by connecting the GND and 5V pins to the relevant + and - power input. As well as the data line for the LED’s onto GPIO2 as that’s what I had configured on the WebUI. C

Note: consult your particular NodeMCU chip for it’s pinout as it may be different to the one I used.
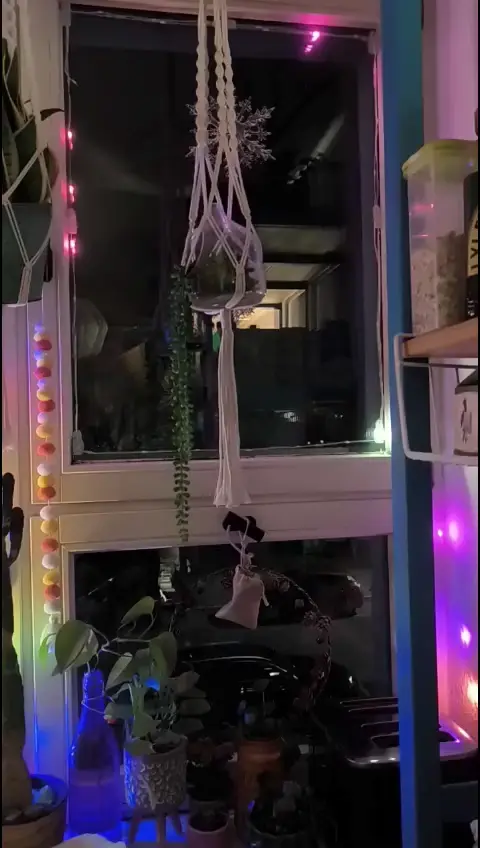
Show time!
